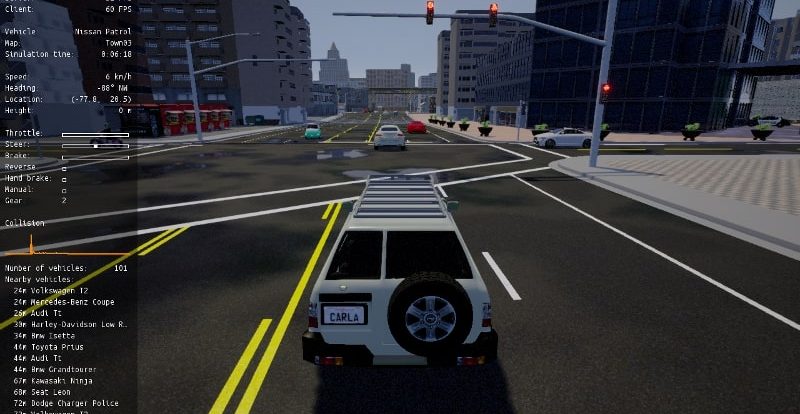
Within this Blog Post we will show how to capture a video of a Scenic scene. If you’d like to learn more about the Scenic library, you can find additional information in our previous blog post “How to Create Custom Scenarios for CARLA using Scenic“. The process of recording video within Scenic proved to be more challenging than anticipated, requiring us to make modifications and fork the library. You can check out our fork here. It’s important to note that the code mentioned in this blog post may only be compatible with our fork.
In this blog post, we’ll take you through the steps we followed to successfully record a video using Scenic, including the modifications we had to make to the library. By sharing our experience and the lessons we learned along the way, this post offers valuable information for both beginners and experienced users of Scenic. Whether you’re just starting out or have already explored its features, this post provides insights to help you make the most of Scenic.
Challenges With Recording Scenic Scenarios in CARLA
In theory, simply running the Scenic script and recording the window would be a possibility. However, a drawback of this approach is that it may result in an inconsistent or subpar frame rate. Therefore, it’s advantageous to have the option of rendering frames with a fixed delta and variable frame times to produce a video with a constant and customizable fps. To achieve this we have to collect the frames as they are rendered and append them to a video stream which can then be stored.
This kind of video recording is not natively supported by Scenic (or CARLA for that matter), however recording a “replay” is supported by Scenic, i.e., a file can be generated that stores information about the locations of all actors in the scene for each relevant time point. Such a file can then be replayed in CARLA. Our first idea was to generate such a file and then program a simple video recorder that re-runs that file in CARLA with a fixed frame delta, get the images from a sensor in CARLA, and puts those image together to create a video.
Although the concept was promising, it ultimately failed to deliver its intended results. Apparently, re-running a replay in CARLA caused the car to not have correct motion vectors. We suspect that during replay, the car is being abruptly moved from one location to another, causing it to abruptly speed up and suddenly come to a halt for short intervals. Unreal Engine utilizes temporal anti-aliasing and screen reconstruction in between frames and relies on correct motion vector information to merge the last frames with the new frame. Since this is not given, a lot of visual artifacts were created such as aliasing, heavy ghosting, and cut-off shadows.
The visual aspect of the outcome was a top priority for us, so when the initial approach proved inadequate, we had to search for an alternative solution that better aligned with our goals.
Patching Scenic to Capture Videos
The solution we went for was to modify Scenic and integrate video capturing into it. We then fixed the frame delta, run the scenario, and fed the rendered images to a video stream.
In other words, in the callback of the CARLA, we integrated a method that would feed the video writer with images. To make that configurable we extended Scenic to take additional parameters. The newly added parameter resolution controls the Resolution of the rendered CARLA stream. It accepts a string with the formatting 1280x720. The parameter video_output_path determines where a video should be stored. It expects a path with an MP4 file at its end. The parameters are defined in src/scenic/simulators/carla/model.scenic and the video capturing is done in src/scenic/simulators/carla/utils/visuals.py.
Step-by-Step Guide to Capture a Video for a Scenic Scenario
With these changes in place, we can record a video of any Scenic scenario. We first have to decide what frame rate the video should have and pass it as a timestep per frame. For example, 30 FPS corresponds to a frame time of ~0.0333 seconds and 60 FPS corresponds to ~0.0166 seconds. Let’s assume we want to record a video with 60 FPS and a resolution of 1920×1080 at /home/user/test.mp4. We would then execute a Scenic script in the following way:
scenic <SCENIC SCRIPT> --simulate --count 1 --param resolution "1920x1080" --param video_output_path "/home/user/test.mp4" --param timestep 0.0166Code language: JavaScript (javascript)When the window is closed the video is stored at the given path.
The following blog post “Best practices when using Scenic with CARLA“ provides best practices for using Scenic with CARLA, including modifications to expose essential parameters that influence car control. It covers how to manipulate parameters such as throttle, steering, and braking, as well as how to tweak the frame rate for smoother car control. Additionally, the post delves into the details of how Scenic controls a car’s movement and how to manipulate it.


